• Welcome to H4O! For a reduced ad experience, please login or register with the forum.

Nugget's H3 - the complete story!

nugget

Well-Known Member
Messages
245
Location
Where Gunner_45 can not find me
For those who have may not seen the build on other forums, here is what I did to my H3, warts and all....:emb:

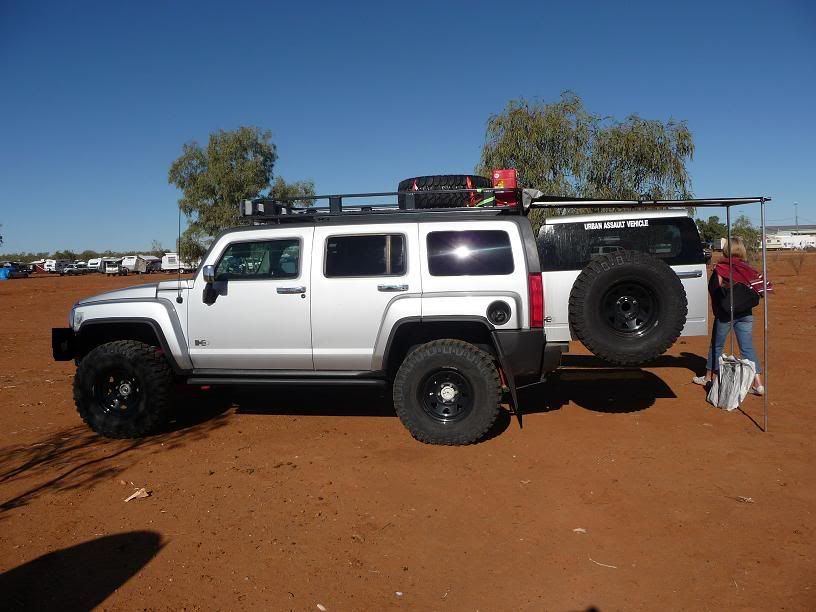
When we bought the H3, the brief was for a 2 person tourer which would be very capable for the weekend off-road stuff but also would take us far and wide on the longer touring trip we want to do such as my favourite destination, the Simpson Desert, another Cape York trip, the Canning Stock Route etc. These are all minimum 5,000km trips into some of the most remote and harsh conditions Aussie can throw at you.

I am concentrating here on the mods, not the trips and adventures we have had, so sorry for the lack of actions shots for the adrenaline freaks amongst us!

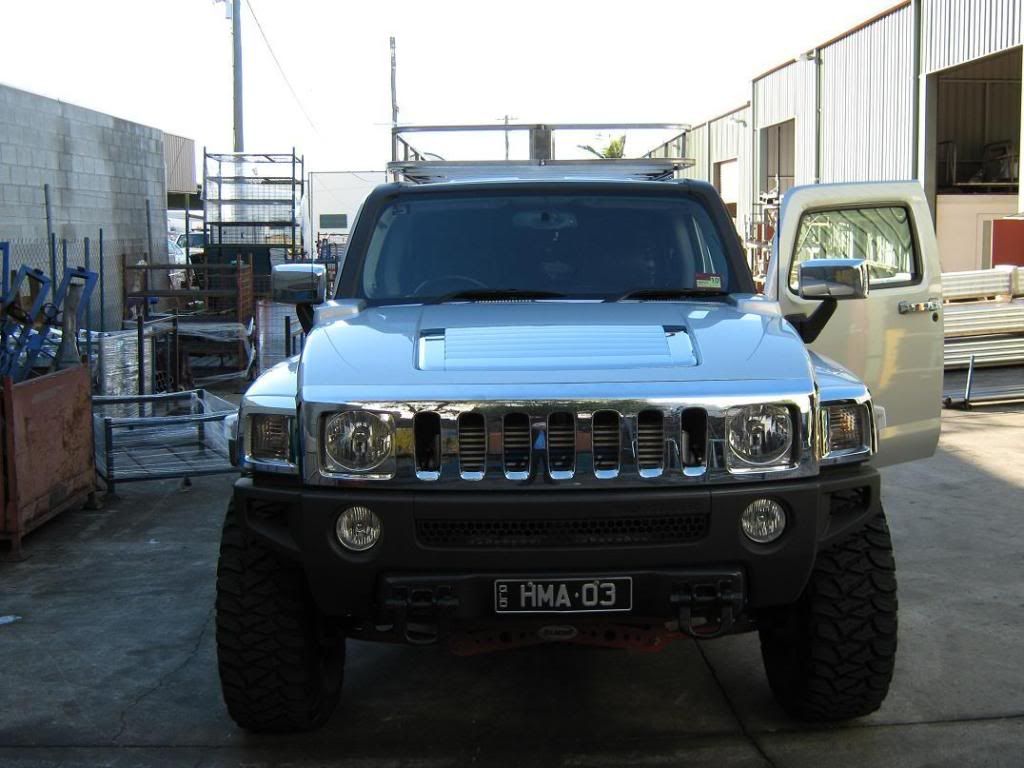
I didn’t get any “stock” pics but this was one of the first when the only mod was the fitment of 35” Mickey Thompson MTZ’s on 17” black steel rims.

Landcruiser161107009a.jpg


The first major mod was the fitting of a 4” Rancho lift with some custom paint.

P1020028a.jpg


P1020022b.jpg


First trip to try out the new suspension set up was faithful old Land cruiser Mountain Park. The pond behind me in this pic has subsequently been made a bit more famous by Skippy!!!

100_0111a.jpg


Next came a GME UHF radio for communication.

100_0152.jpg


I wanted the antenna to look like the radio antenna mounting so I fabricated my own mounting plate, moulded a cap from the original one and presto…

uhfariel1.jpg


uhfariel2.jpg


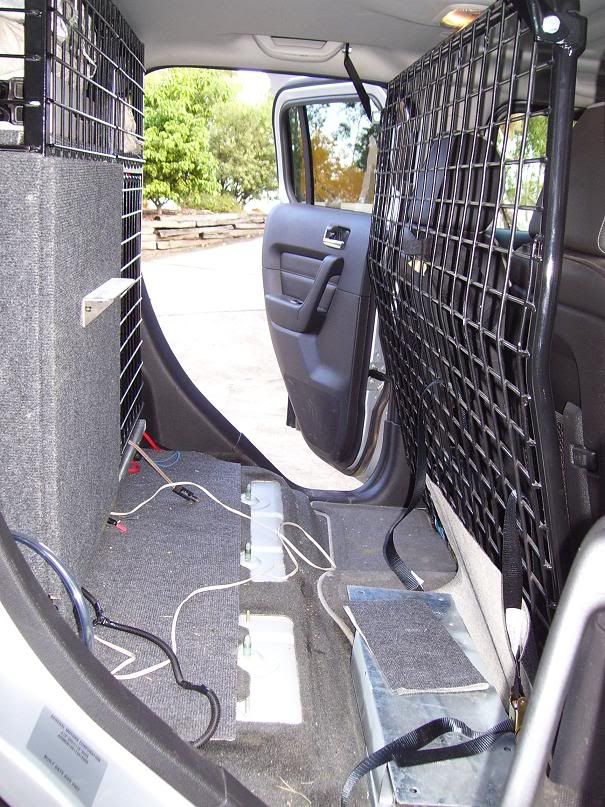
Because of the touring we wanted to do, we would need to carry a fair bit of gear so the first mod for the back was a cargo barrier to stop heavy object from flying into the front in the case of an accident or quick stop.

cargobarrier.jpg


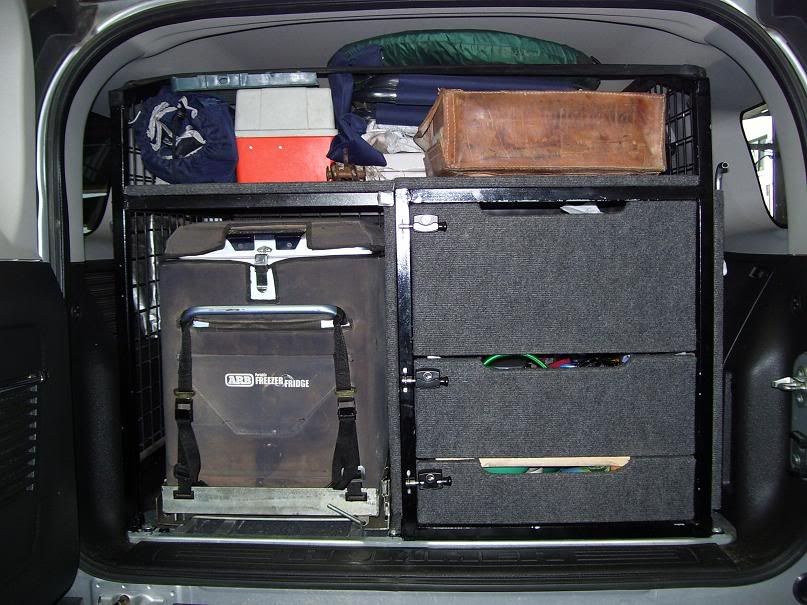
A drawer system was always on the agenda so I started with a frame which bolts to the original tied down points and which would be removable and on which the rest of the drawer system could be built.

100_0188a.jpg


The most important thing in the world came next..the fridge to keep the beer cold.

fridgeslide.jpg


fridgeslide2.jpg


So that we could find our way around, and also so that we could still listen to music on really rough roads in the outback, I had a Pioneer AVIC installed. The ability to plug in an I pod on which we could fit lots of Country music was really important!

pioneer1.jpg


Then the work on the drawer system started in earnest.

earlydrawers1.jpg


frame1.jpg


frame.jpg


Add some drawers…

earlydrawers2.jpg


earlydrawers3.jpg


Bit of outdoor carpet….

draws1.jpg


Tried to include a few special features in the drawers to make life on the road a bit easier.

draws4.jpg


bottomdrawermod1.jpg


bottomdrawermod2.jpg


water1.jpg


water2.jpg
 

nugget

Well-Known Member
Messages
245
Location
Where Gunner_45 can not find me
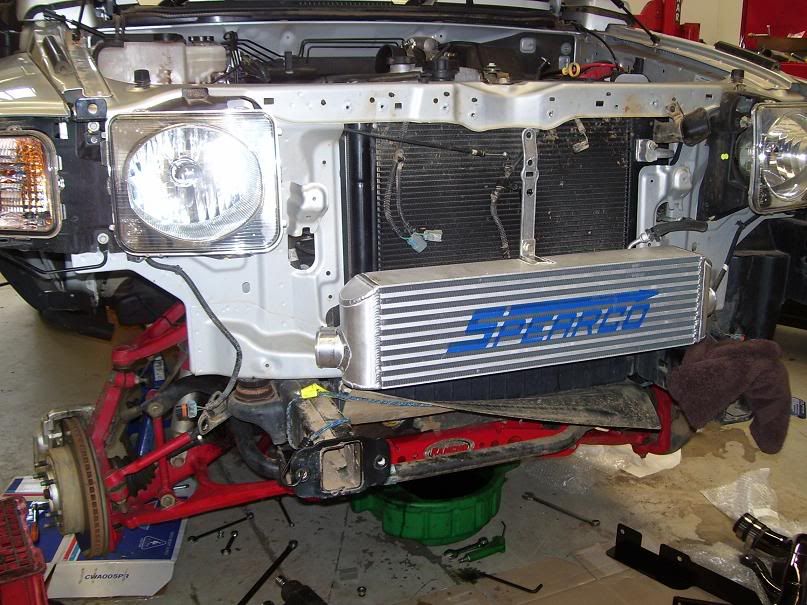
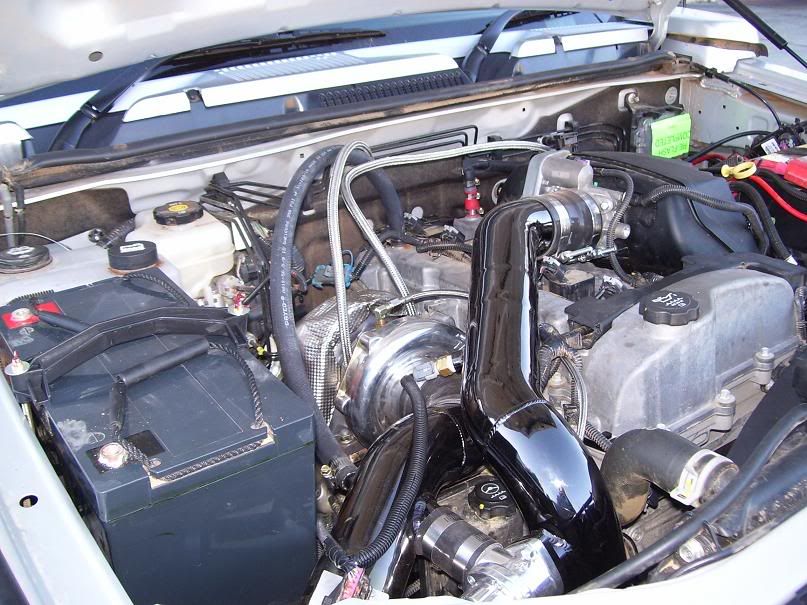
Then I thought it might be a good idea to fit a Turbonetics Turbo made for a left hand drive to a right hand drive..started out well enough….strip the front of the car..put on the inter cooler..

intercooler.jpg


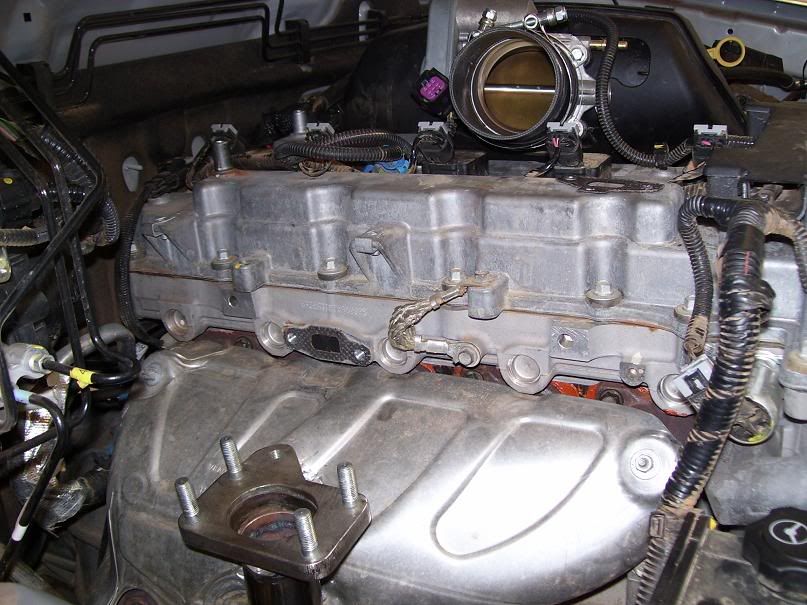
New manifold…

turbomanifold.jpg


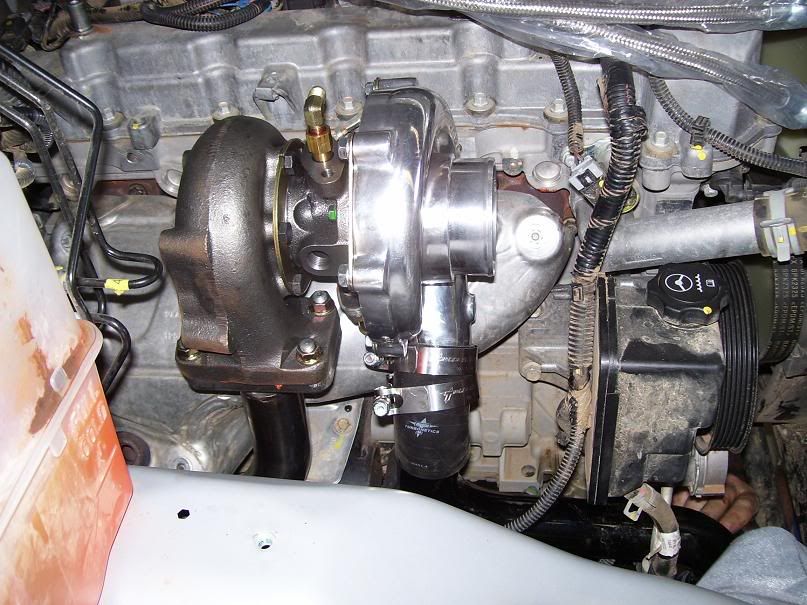
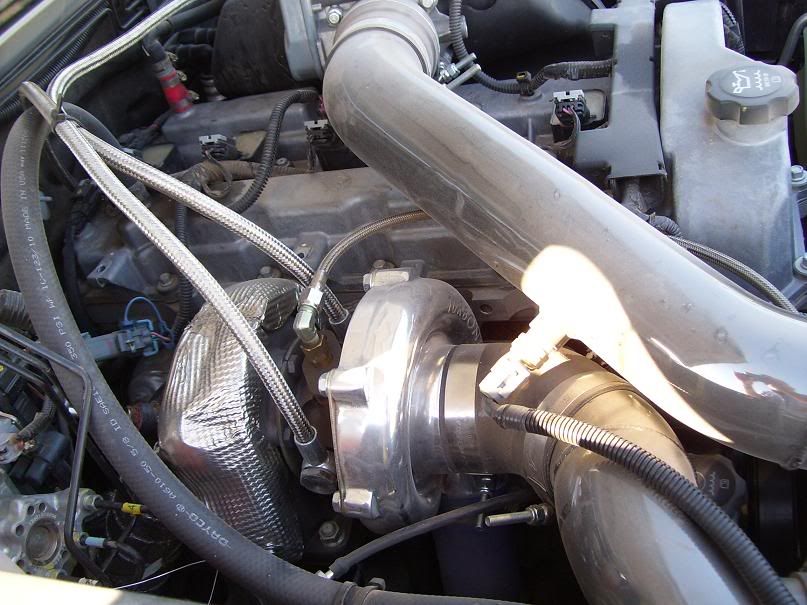
turbo in place

turbo.jpg


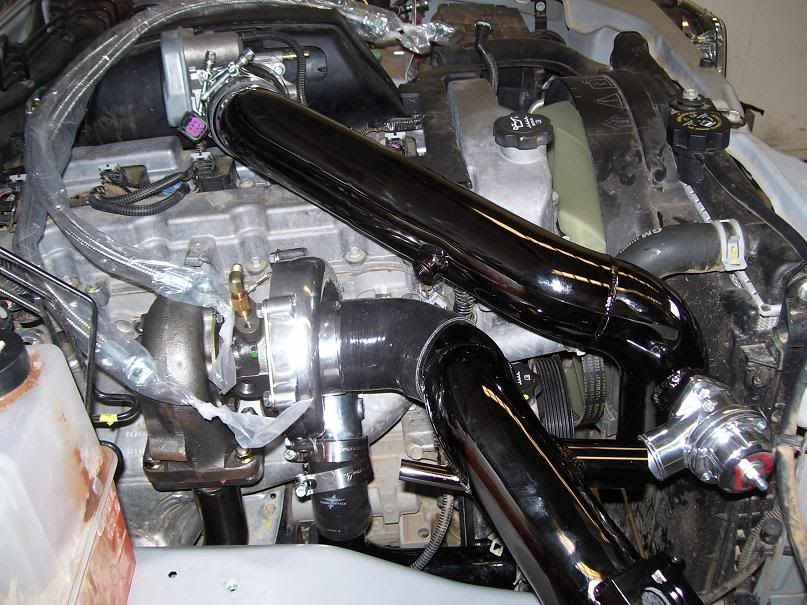
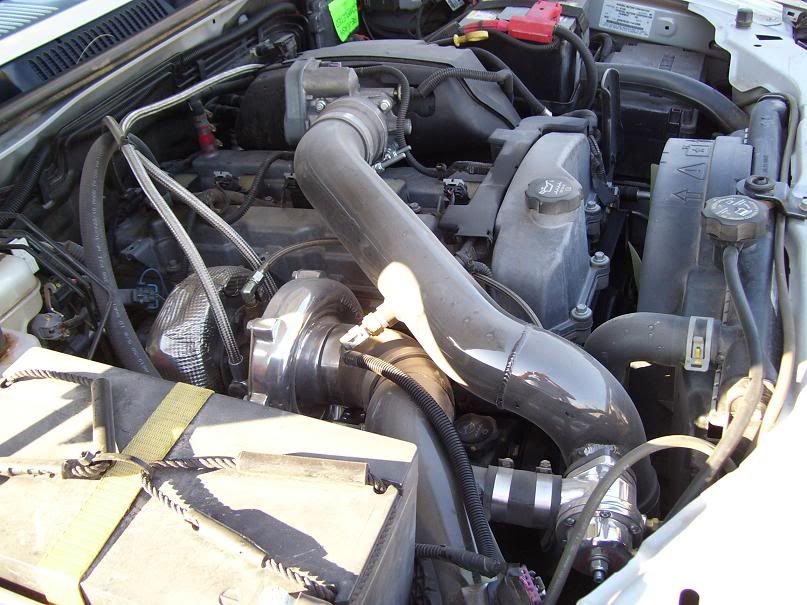
a few pipes

turbo1.jpg


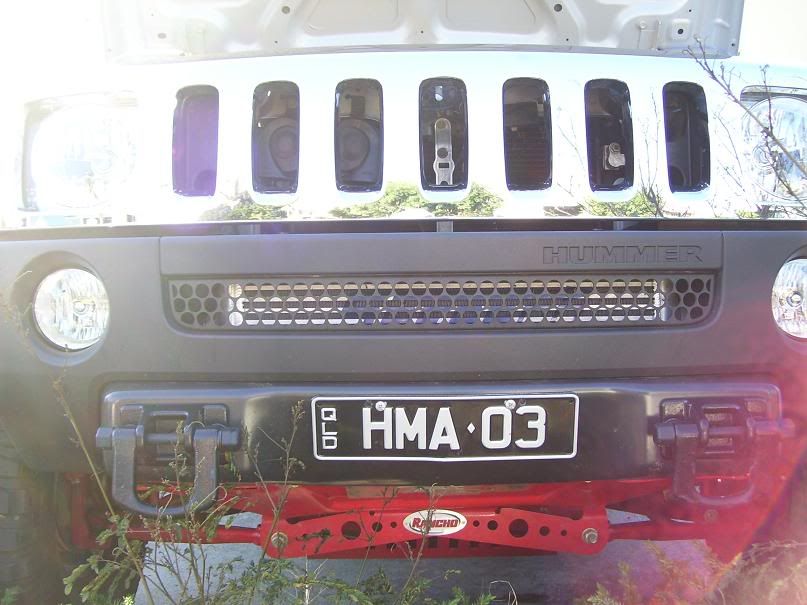
Inter cooler even looked pretty neat behind the grill

turbo1-1.jpg


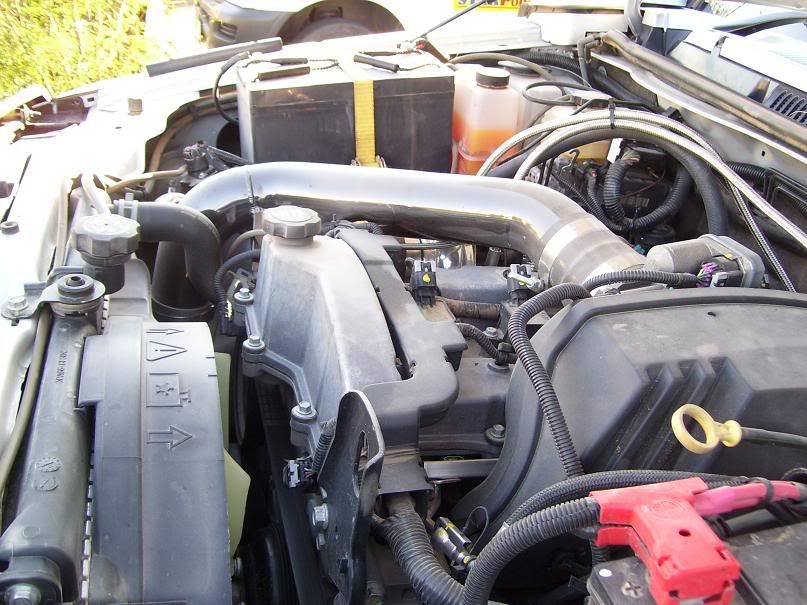
A lot of fit..measure..take off..fit..measure etc happened to get it right as a result of the need to fit the turbo to a right hand drive but finally…

turbo2.jpg


turbo3.jpg


turbo4.jpg


turbo5.jpg


The turbo made a huge difference to the performance of the H3. It wasn’t bad initially but the fitting of 35’s really killed it on the open road for over taking etc and the turbo made it better than original by a big margin.

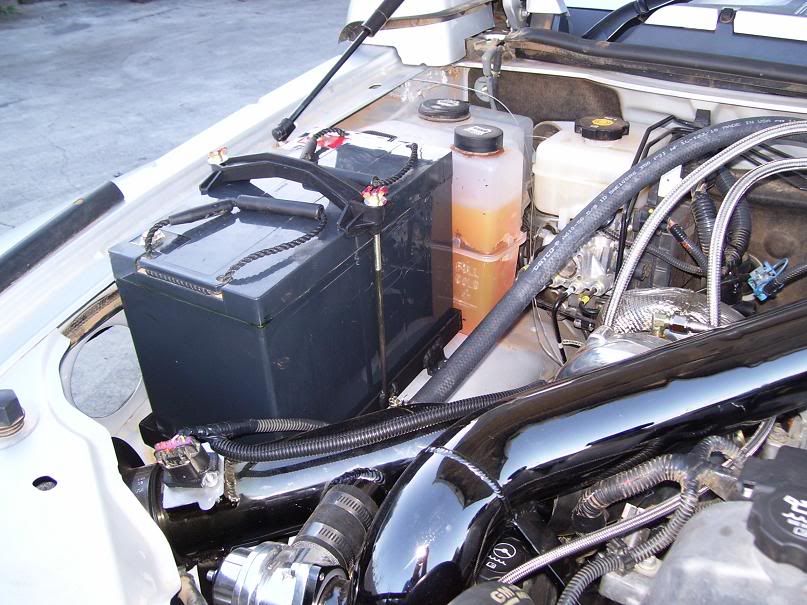
A compulsory addition for any serious tourer/camper in Oz is a dual battery set to ensure that you don’t have cold beer without flattening your main battery. The fitting of the turbo left room for a second battery…although this will be changed a bit when a snorkel become available….

dualbattery1.jpg


dualbattery2.jpg


No we are ready to do some serious camping..this is how the drawers/rear looked fully packed.

drawersloaded.jpg


There was still a bit of tidy up to do between the back of the drawer system and the cargo barrier though

rearempty.jpg


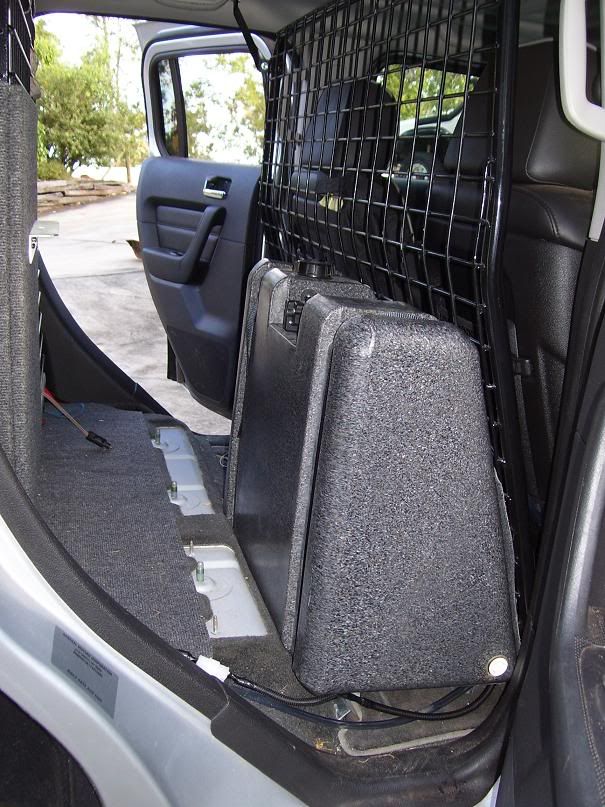
Water is pretty important in the outback so I opted for a 55l water tank with electric pump.

watertank.jpg


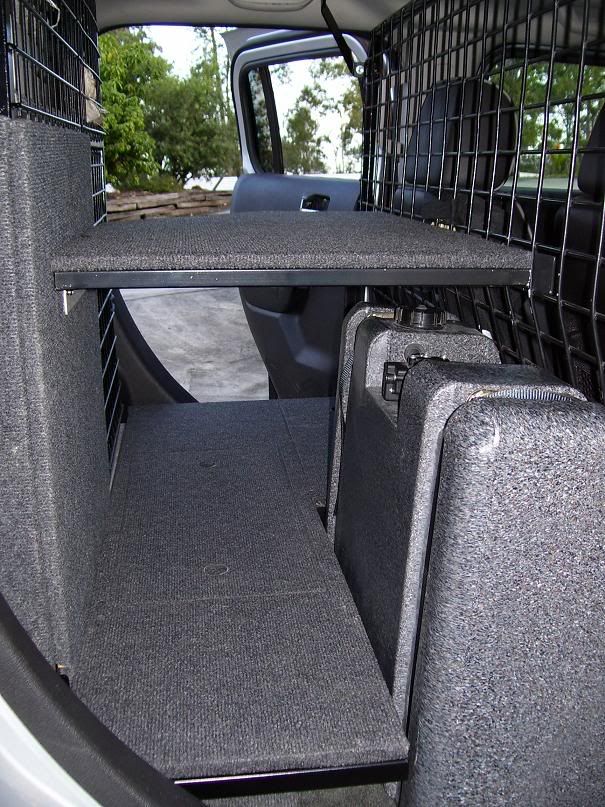
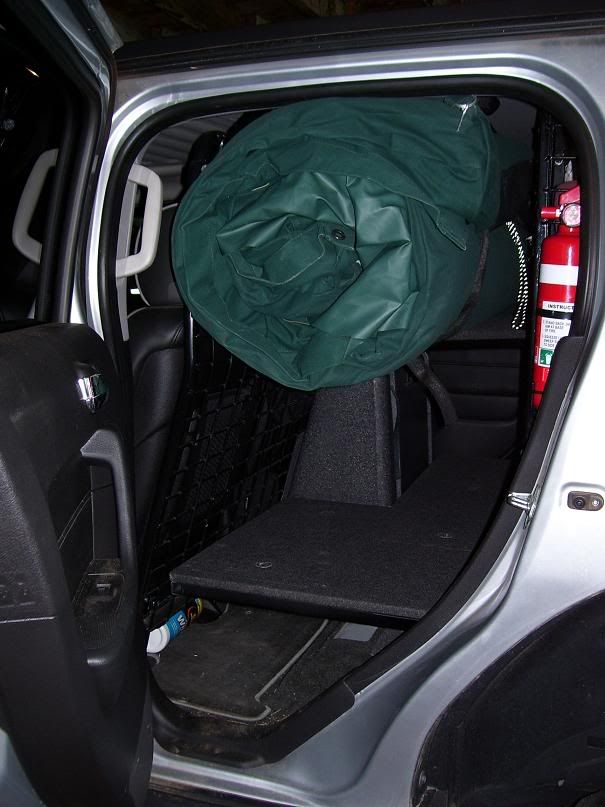
Extra storage areas are always good so this one enables us to store our swag on top and still have access to clothes bags etc

topshelf1.jpg


topshelfswag.jpg
 

nugget

Well-Known Member
Messages
245
Location
Where Gunner_45 can not find me
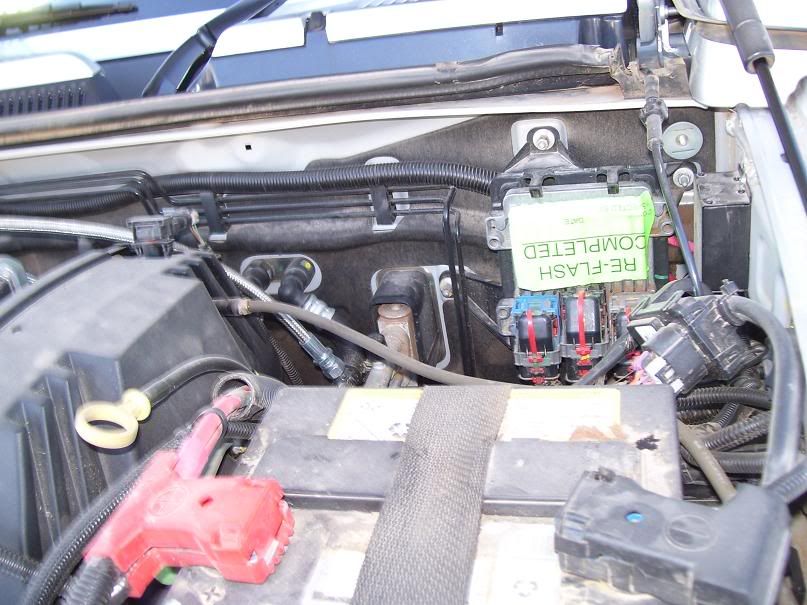
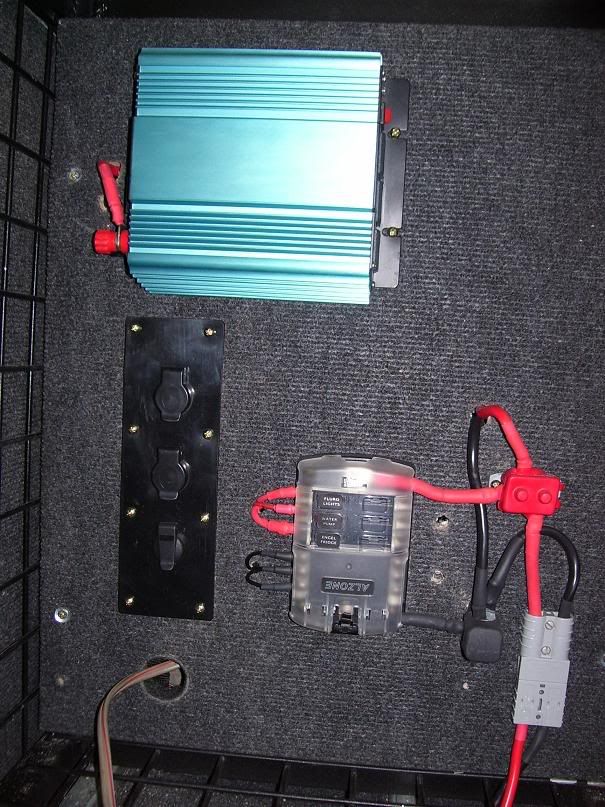
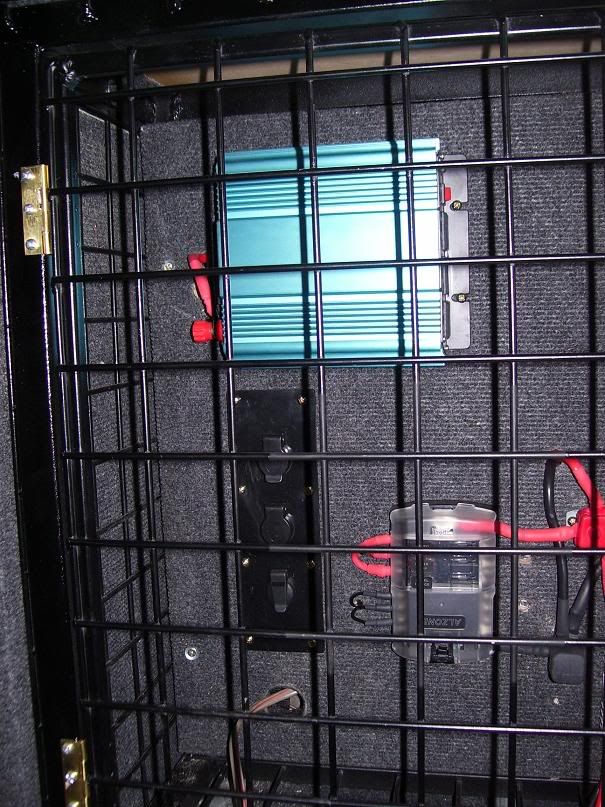
As the fridge is shorter than the drawers, I had a small area which I decided to make my electrical box for the drawer system with breakers and fuses as well as a 500W inverter which I can run a drill from.


electrical.jpg


electrical2.jpg


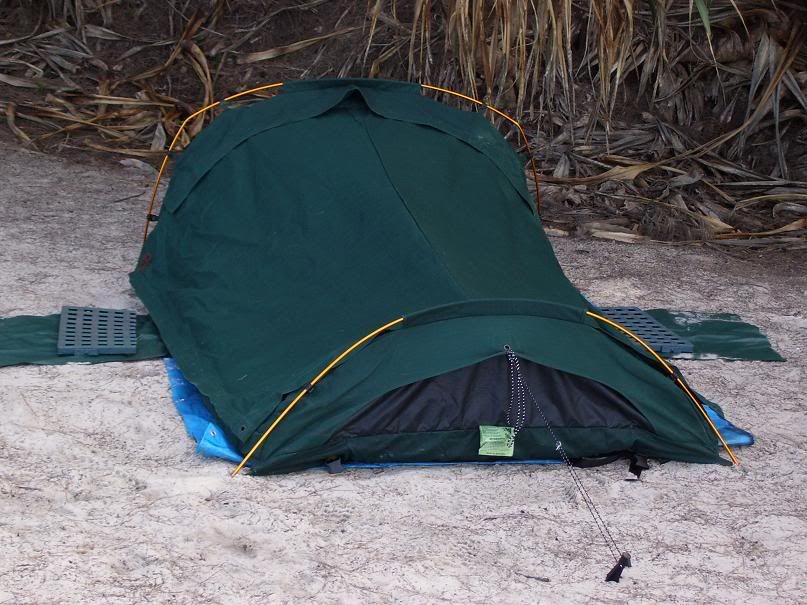
For those not familiar with the Aussie swag..it is our bedding when we camp.

swag.jpg


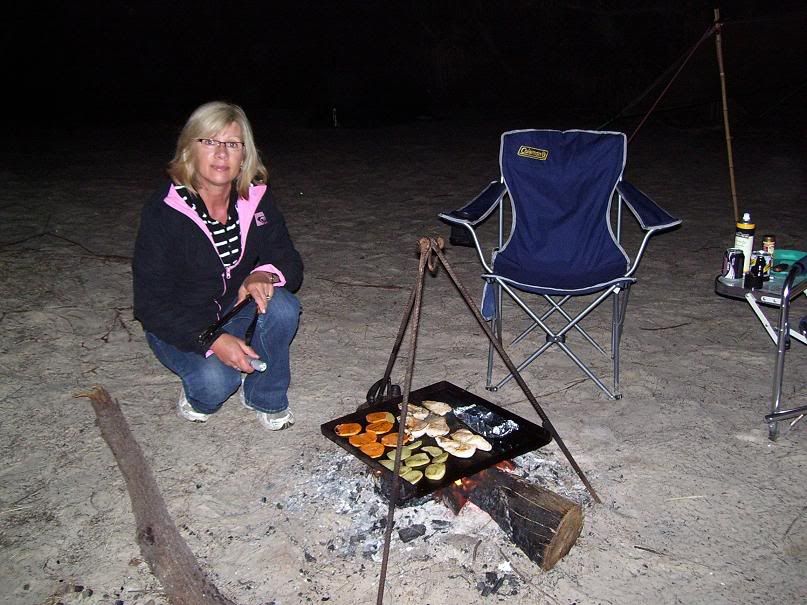
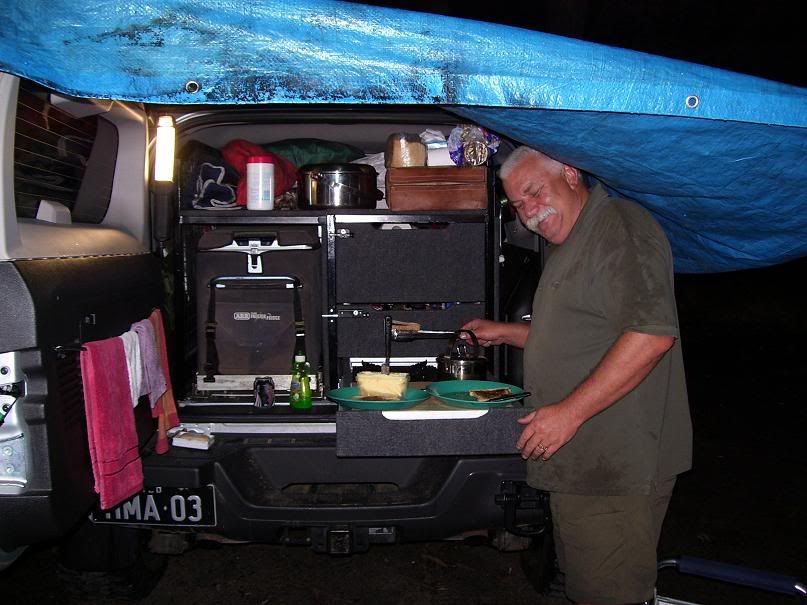
Where ever possible we cook on an open fire…we are lucky in the state we live as we rarely have fire bans as it is sub tropical…

tea.jpg


However, the weather is not always favourable!!!

weatherchanges1.jpg


Next mod was actually extended rear shackles to lift the back a bit and keep the rig level but I don’t have a pic of that at the moment.

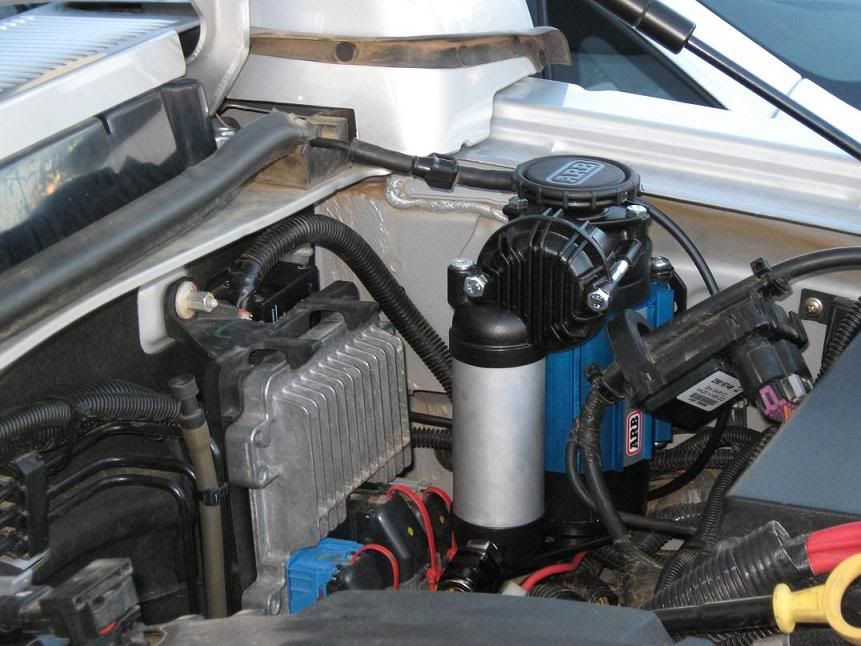
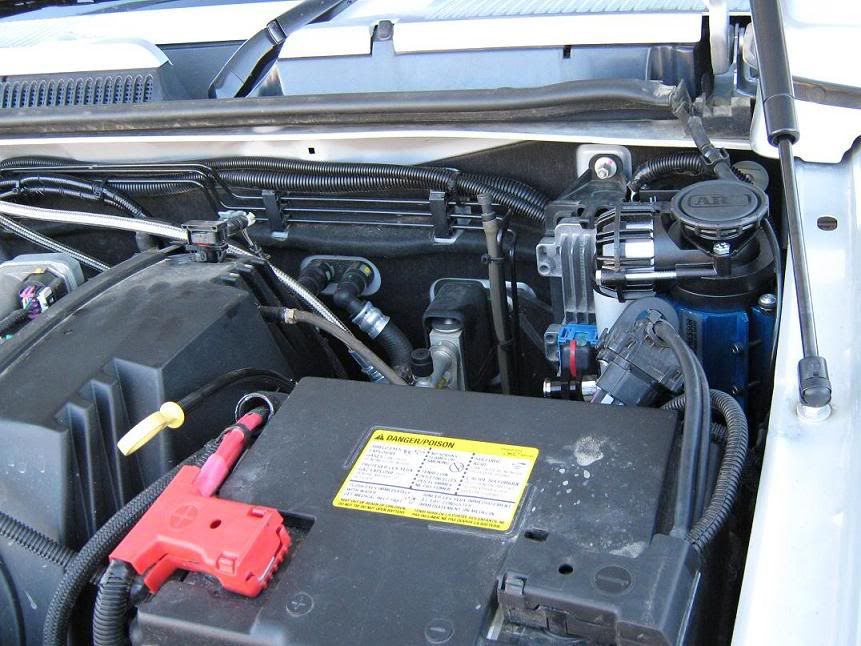
Again, to be as self sufficient in the outback, a compressor for inflating tyres is pretty important. On long trips I carry 2 spares but if you can plug a hole, it is pretty handy and often saves actually changing the tyre..and changing 35’s on steel rims on your own is not easy for an old fart like me!!!

compressor.jpg


compressor2.jpg


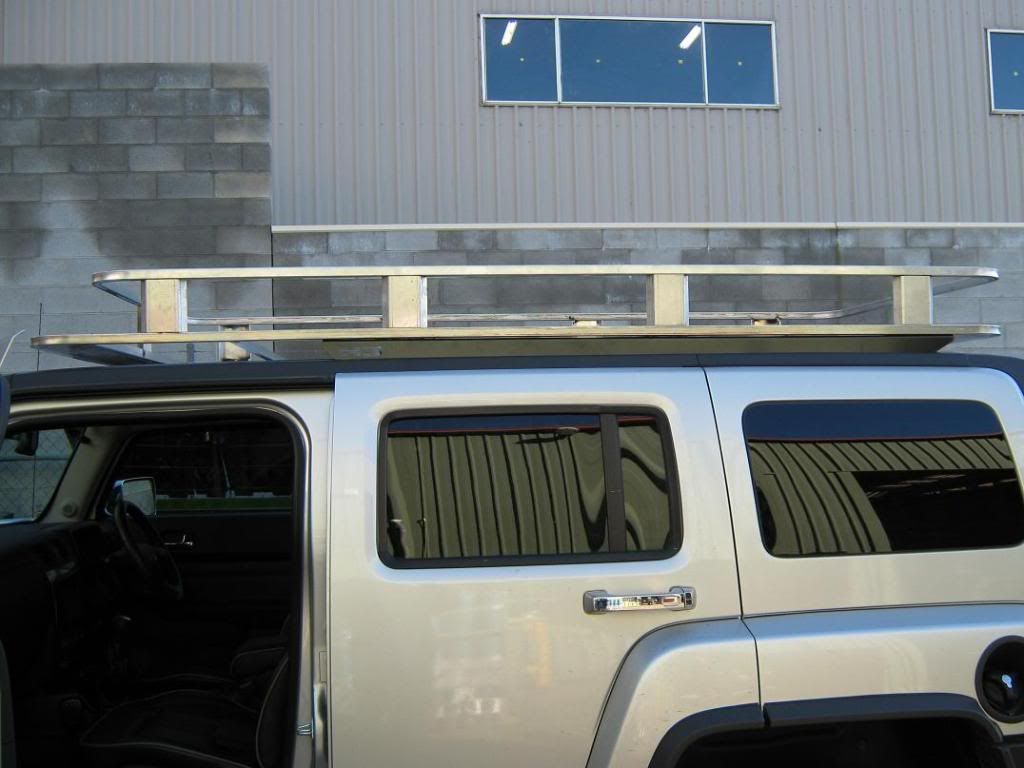
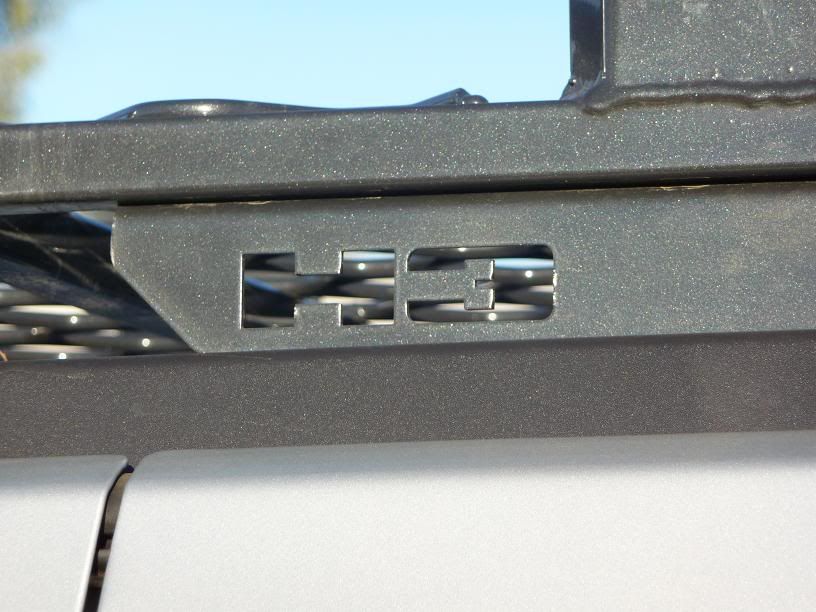
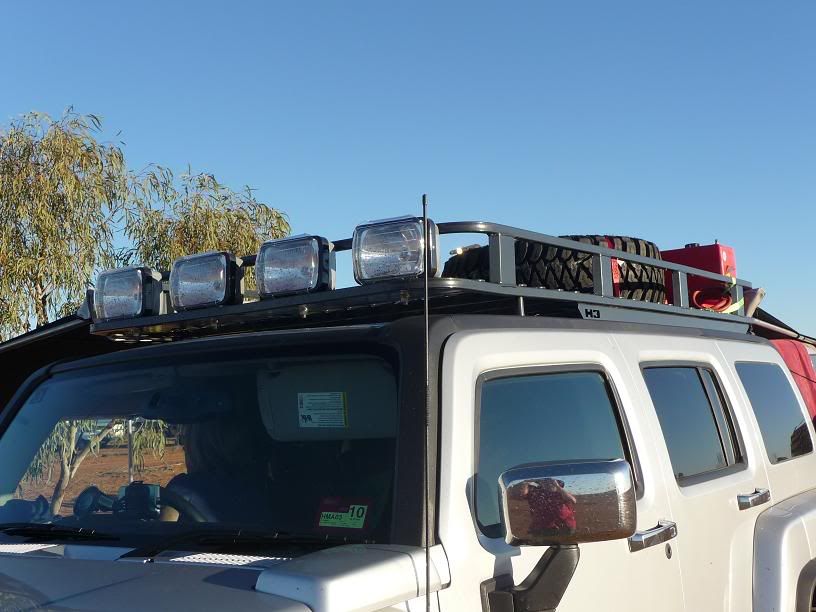
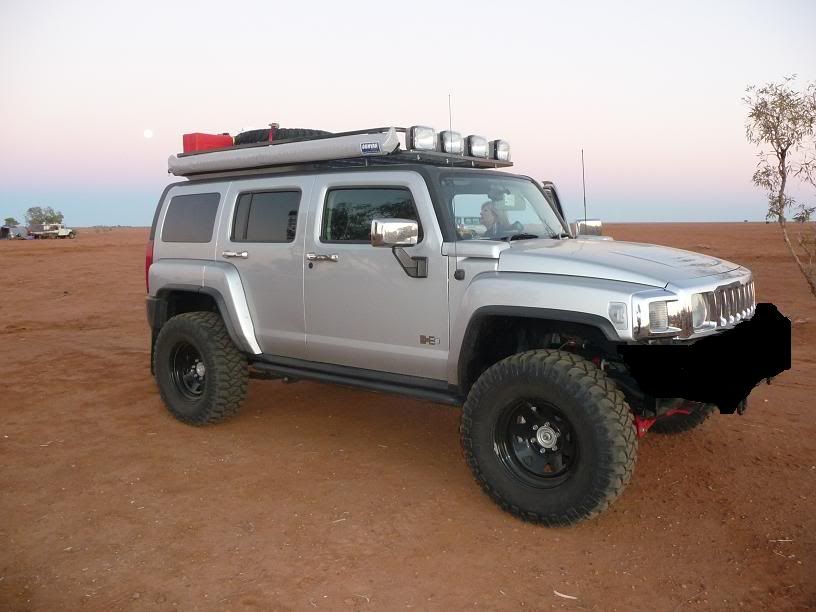
Next was the roof rack. I was able to get a set of prototype rails from ARB and then designed my own basket to suit.

roofrackside.jpg


roofrackfront.jpg


Laser cut “H3” is a nice touch on these rails which will not be done on the production mdels.

bouliacamp3.jpg


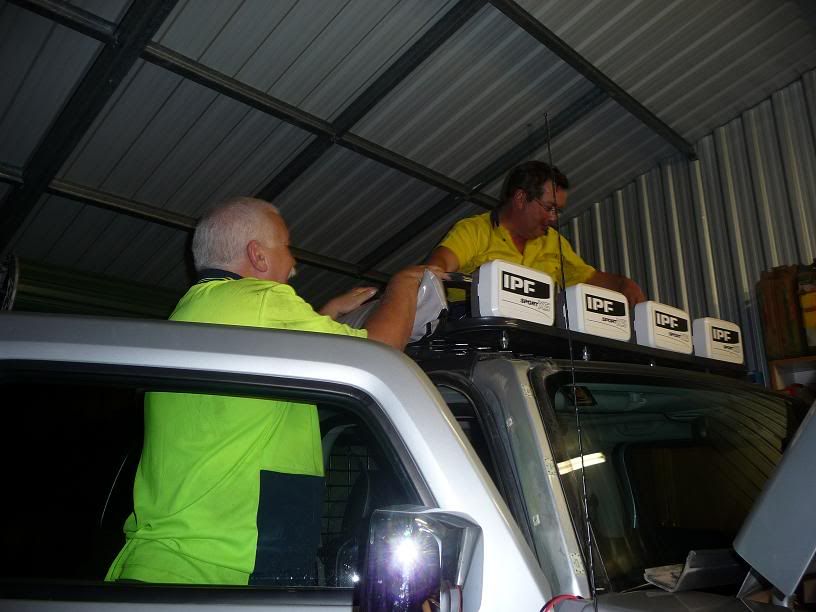
A set of spots was compulsory of course and I chose IPF 800’s with 2 pencil and 2 spreads so I could make sure I didn’t miss any roo’s at night….current score is

Nugget 2
Roo’s 0

spotties.jpg


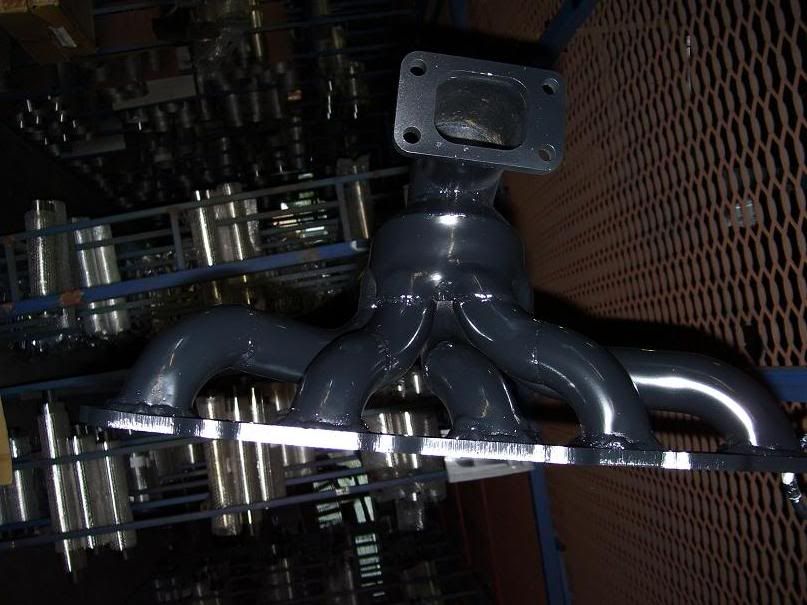
It was decided at this stage to modify the turbo manifold to reduce the heat in the engine bay, the operating temperature of the turbo and to give a better power range

A new manifold was made

manifold.jpg


and the difference was remarkable. Operating temperature dropped 100C and the power range went from cutting in at 4,000rpm to cutting in at 2,000rpm.

As everyone knows, I subsequently had big problems with the wastegate pipe cracking and then breaking away, but the theory was brilliant! It will be again.


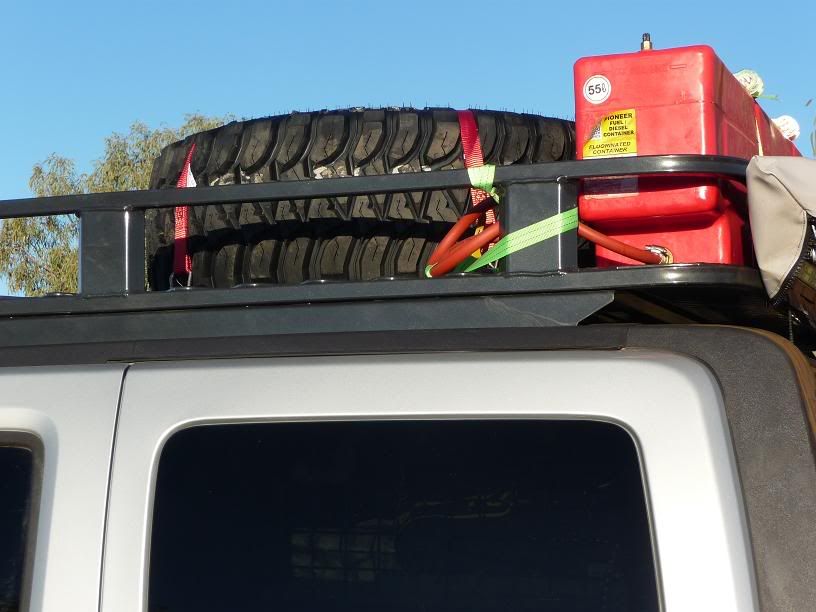
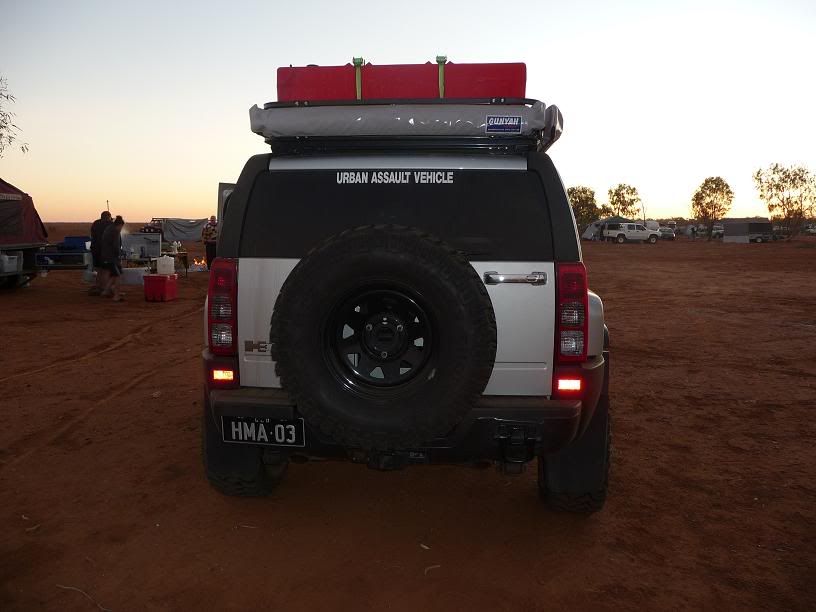
The roofrack has become a pretty important part of the setup as not only does it hold the spotties, but also my 2nd spare, plus a 55l petrol tank which gravity feeds to the main tank when I hook up the feed tube and open the stop valve.

bouliacamp2.jpg


I decided on this system as opposed to a long range as no tanks are commercially available yet and are very expensive. In addition you have to cart them even when not using them where as this one is held by 2 racket straps.

bouliacamp4.jpg


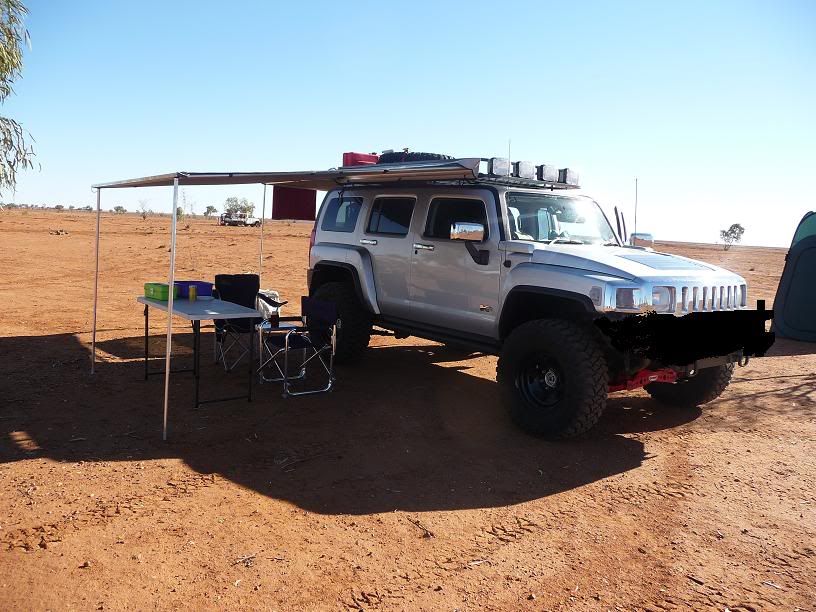
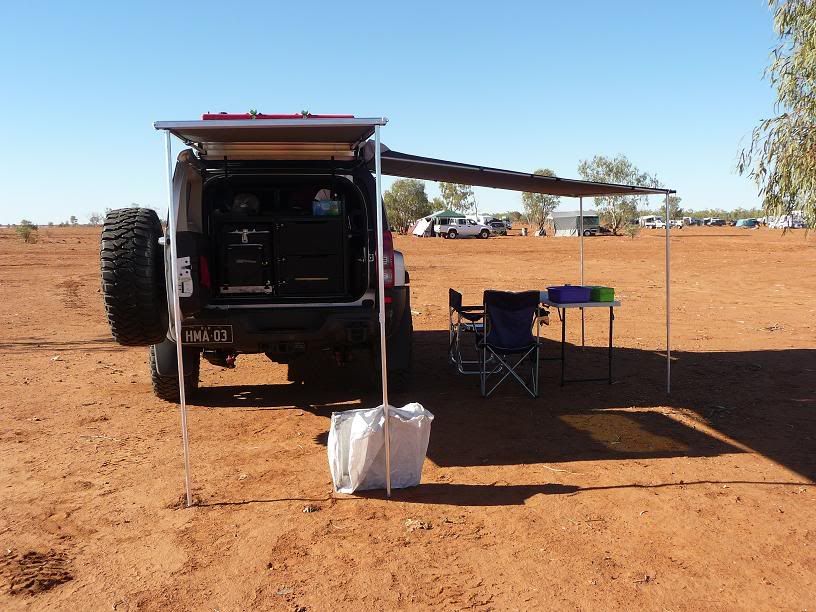
Next were the awnings to give us shade and protection. I had 2 custom made to length to suit the roof rack.

boulia9.jpg


boulia10.jpg


boulia11.jpg


Of course what tourer would be complete without a good old Aussie bulbar. I was lucky enough to score a prototype ARB bar, but unfortunately I can not show pictures of it as they decide whether or not they will introduce it, but believe it me, it is SWEET!!!!
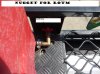
I am really happy with the way the rig has turned out in both look and performance.
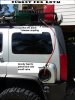
bouliacamp7.jpg


bouliacamp8.jpg


There are till some more things to be done once it gets back and the turbo manifold/wastegate issue is fixed.

1. The bulbar is winch compatible and I will be fitting the winch pretty pronto.
2. Provision for a second 55L fuel tank o the roof rack which will give me a total carry capacity of 197 litres which should get me most places I want to go.
3. Some minor suspension mods to keep it all level, give maximum articulation and improve on road ride
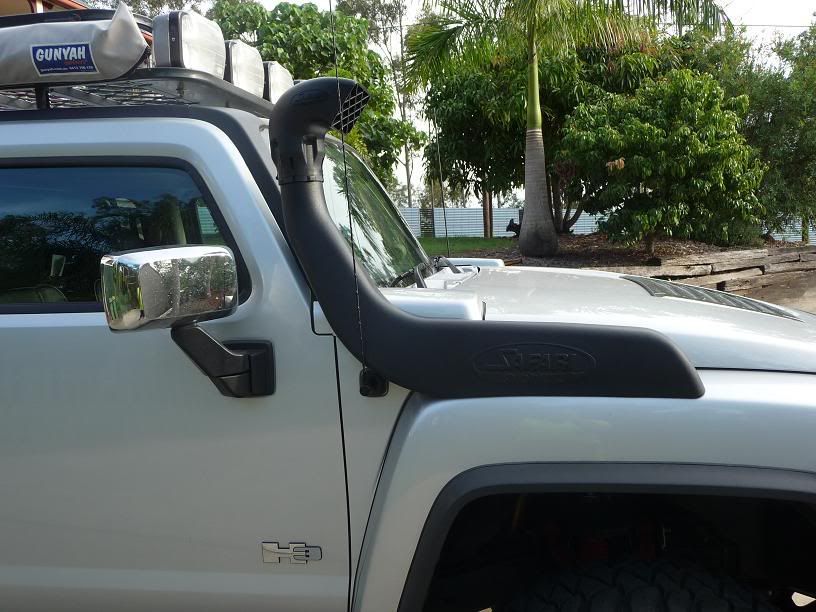
4. Snorkel when they become available. This will involve changes to the dual battery and also the building of a custom air cleaner box. I am really looking forward to that one!
5. Adding a plate to the side of the roof rack which will house the on/off valves for the spare fuel tanks with snap on fittings.
6. Lots of minor things I will think of as we go along!
7. Additional underbody protection.
 

nugget

Well-Known Member
Messages
245
Location
Where Gunner_45 can not find me
I haven't updated this for a long time so I thought I should bring it upto date...I have done a fair bit since the last post so it might take a while but here is a start at least....

Top view of the roof rack ready for a trip.

rotmroofrack.jpg


Detail of the feul filling system

rotmfuelfiller.jpg

rotmfuelfiller2.jpg

rotmfuelfiller3.jpg


Long handled shovel is mounted on the side


rotmroofrack1.jpg


rotmshovel.jpg


rotmshovel1.jpg


rotmshovel2.jpg


The bibs and bobs are kept in the rear door compartment

rotmtowelrack1.jpg


rotmtowelrack.jpg
 

Attachments

  • rotmroofrack1.jpg
    rotmroofrack1.jpg
    96.8 KB · Views: 1,391
Last edited:

nugget

Well-Known Member
Messages
245
Location
Where Gunner_45 can not find me
I have already posted the rear suspension mods in the H3 section so I will not go into the full detail but a military wrap bigger 2nd leaf, long and bigger 3rd leaf, add a leaf and longer travel, big bore Rancho's pretty much summarises it!


frontandrearsuspensionpost005.jpg


frontandrearsuspensionpost007.jpg


frontandrearsuspensionpost010.jpg


The Turbo finally just gave me too much trouble ( my 1 hope for the Global recession is that it Turbonetics are hardest hit!) and so I had it replaced with a Super Charger with water cooled intercooler..

sc1.jpg


sc2.jpg


file.php
 
Last edited:

ReconH3

Guardian Angel
Messages
2,288
Location
Raleigh, NC
I love your improvised ingenuity as well as your fabrication skills. I love swags. I miss mine. I wish I had brought it to the US. One question. Cargo separation is a big thing down under for obvious reasons. I learned that from you guys. The one you have, who made it? I wanted one like that but only managed to get a safety strap net version made.


"Ex Umbris Venimus"

Sent from my iPhone
 

ReconH3

Guardian Angel
Messages
2,288
Location
Raleigh, NC
Agreed. That's why I got the version for now until I can find or make one like yours. I have the advantage of the roll cage. Makes it easier to secure to.


"Ex Umbris Venimus"

Sent from my iPhone
 

nugget

Well-Known Member
Messages
245
Location
Where Gunner_45 can not find me
The original air filter box had to go to make room for the super charger and was replaced with a K & N.

airbox01.jpg


ARB terminated the snorkel in the guard, leaving it to me to make a custom air box and join it up to the snorkel.


airbox02.jpg


I started with a section of 6 1/2" (165mm) tube and cutting a 4" hole for the air inlet. Then we welded the inlet tube and also blanked off the end.
airbox03.jpg


airbox04.jpg


airbox05.jpg

The lid was made from the lid from a Discovery air box, modified and then encased in a polyurethane moulding so that it fits over the main tube and sealed with a large clamp. The K & N filter is clamped on the inside of the lid.

airbox06.jpg


airbox07.jpg


airbox08.jpg


I was able to use the rubber hoses supplied with the origianl kit, cut it in half and add a section of pipe.

airbox10.jpg
 

ajk150

Well-Known Member
Messages
196
Location
Haverford, PA
nugget this build is awesome!! If i ever were to go with an H3, i'd prolly duplicate alot of this stuff. This truck is just amazing! Turned out looking great as well!
 

06 H3

a.k.a. "The Jackal"
Messages
9,499
Location
Meridian, ID
man this is a cool build! I had a feeling the stock rancho springs werent holding the rear end up. All the thought that went into this is amazing, I wouldnt complain if I had to live out of your H3.

How did you like the rancho lift in off camber situations compared to stock? I have seen australia has some crazy off camber rutted out trails.
 

nugget

Well-Known Member
Messages
245
Location
Where Gunner_45 can not find me
man this is a cool build! I had a feeling the stock rancho springs werent holding the rear end up. All the thought that went into this is amazing, I wouldnt complain if I had to live out of your H3.

How did you like the rancho lift in off camber situations compared to stock? I have seen australia has some crazy off camber rutted out trails.

To me it handles better after the lift and mods than before. Stiffer springs and a bit of weight in the bum end probably didn't hurt there.

The 4WD magazine that I do some freelance for took a H3 and a Rubicon to the Simpson Desert and talking to the guys they said it weas a fight every morning to get into the H3 so they didn't have to drive the Rubicon which had a nasty habit of bouncing onto the wrong side of the road in heavy corrugations. The loved the manners of the H3 on dirt roads.
 

nugget

Well-Known Member
Messages
245
Location
Where Gunner_45 can not find me
Going through some old photos and realsied there is quite a bit of other stuff I did to the H3...memory must be going like....whats his name...yeah, Gunner, that's right:)

Was looking for projects when I bought a mill and started teaching myself to use it, and decided a custom battery holder would be a good starter...

Got a copy of the H3 logo, worked it out in AutoCad and then back filled with some red 2 pack paint.

battery tray _09 post.JPGbattery tray _13 post.JPG


batterytray22post.jpg


batterytray_28_30.jpg


batterytray_22_25post.jpg
 
Last edited:

nugget

Well-Known Member
Messages
245
Location
Where Gunner_45 can not find me
Another part of the puzzle of mods on the H3 I had forgotten about....

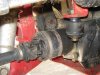
A couple of weekends ago I went away 4WD'ing and started to to get a "clunking" noise. When I checked under neath I found this..


diffbushpost01-1.jpg


I stopped off road activity..it was the end of the weekend anyway and drove home. When I had a closer look and checked with the dealer, you had to buy the entire bracket assembly not just the rubber bush.

diffbushpost02-1.jpg


Even worse is that you have to take the entire CV out to remove the bracket which seemmed pretty stupid to me, especially if it happened in a remote area such as the desert. I decided to modify the system to polyurethane bushes which could be replaced with out removing the bracket and CV, and which would only require a couple of bushes to be carried as spares.So I had some bushes made up....

diffbushpost03-1.jpg


I had to remove the CV anyway as you might have noticed a split boot in the fist pic so it was part of that fix anyway. To go to this suytem though, there is a bit of preparation converting the bracket to accept the new bushed. First you have to de-vulcanise the rubber..for us pyromaniacs, this was a fun part!!!


diffbushpost04-1.jpg


The rubber pushes out..well whats left of it at least..

diffbushpost06-1.jpg


Then you have to remove the outer ring which has been pressed in..I decided to cut it out..


diffbushpost05-1.jpg
 

Attachments

  • diff bush post 01.jpg
    diff bush post 01.jpg
    95.6 KB · Views: 706

06 H3

a.k.a. "The Jackal"
Messages
9,499
Location
Meridian, ID
No fricken way! I appreciate this mod, I was actually trying to figure out a way to remove the bushing and come up with a replaceable one. Mine have seen better days...
 

nugget

Well-Known Member
Messages
245
Location
Where Gunner_45 can not find me
This is how the polyurethane bush looks against the original. The bush is 2 part so it can be fitted with out removing the bracket from the car. It has a centre crush pin to support it...not shown in pic..


diffbushpost07-1.jpg


diffbushpost08-1.jpg


And fitted in place...

diffbushpost09-1.jpg


Just makes me wonder if the front diff issue started here??
 
Top