• Welcome to H4O! For a reduced ad experience, please login or register with the forum.

H3slate's 06 Manual Adventure

H3slate

Brush raked
Messages
983
Location
Tualatin, Oregon
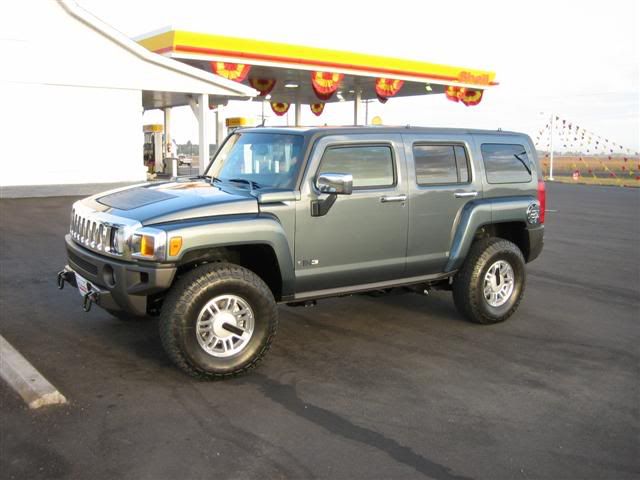
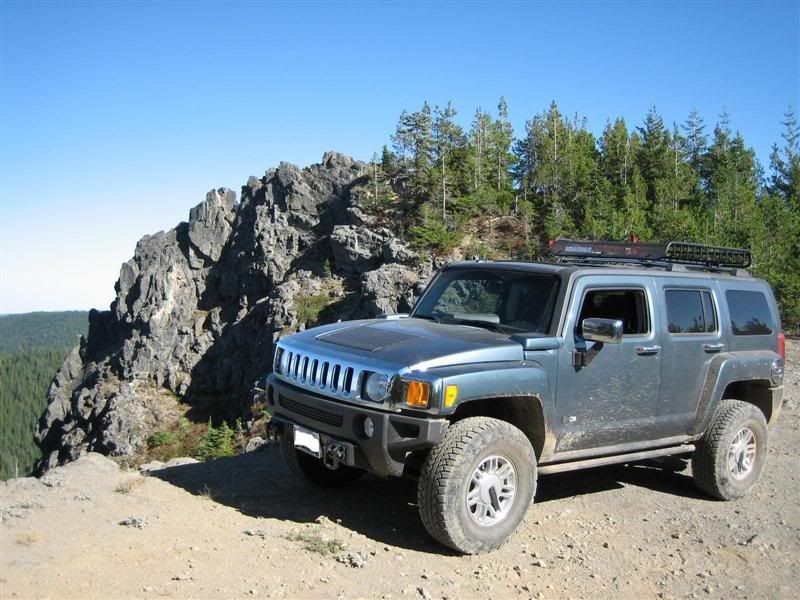
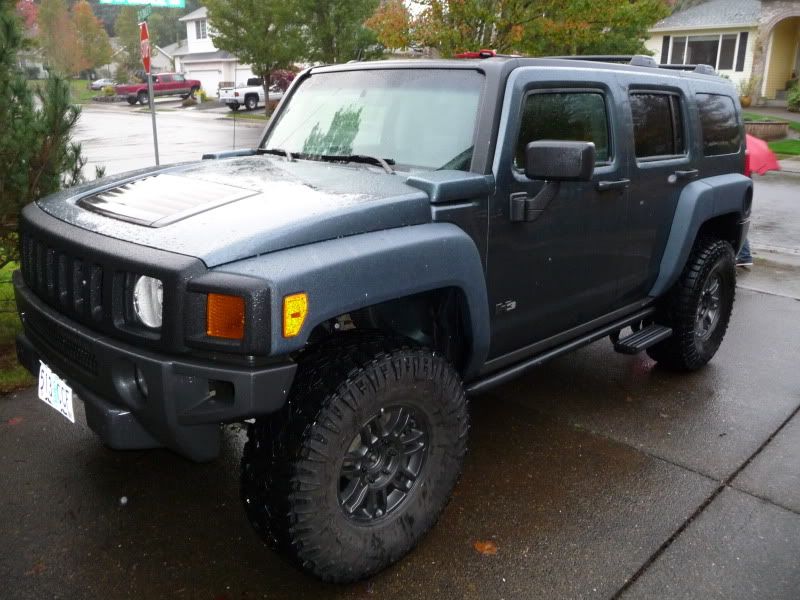
When I was looking at H3's there were very few on the lot at the local Caddy dealership. So I put in my order and impatiently waited two months for a Slate Blue (color I had never seen in person) 06 H3 manual (never test drove the manual) Adventure. Picked up my truck in September of 05 and I have been smiling ever since. :)

Day Two

IMG_0094Small.jpg


The H3 replaced an 03 Xterra which I liked, it was my first SUV and I was just happy to have anything that wasn't a small car.
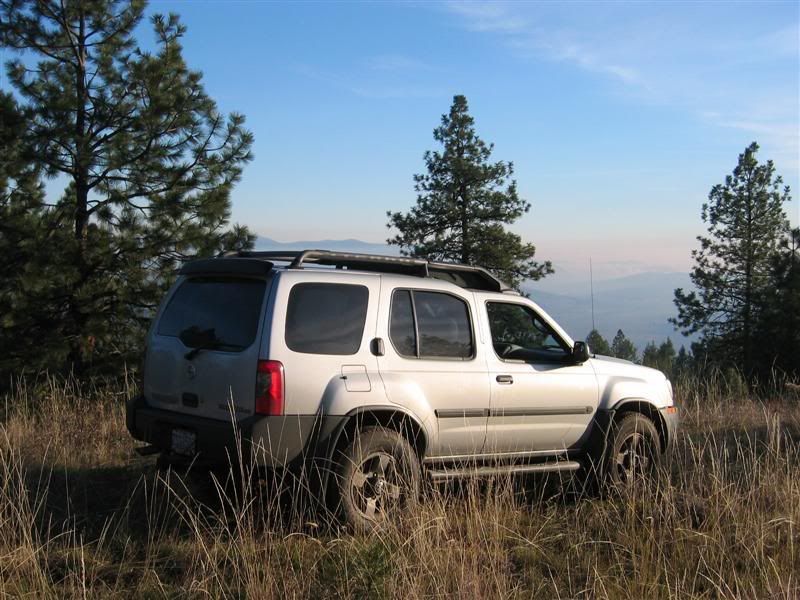
IMG_1022Medium.jpg


After a year of "mall crawler" status I got invited to a Hummer Happening in Reno with Rod Hall.

IMG_0706Large.jpg


I had a blast. It really opened my eyes to what my vehicle was capable of and what I had been missing. I met bebe there and she told me about this magical place called the interwebs where other Hummer owners got together and shared information. :emb:
 

H3slate

Brush raked
Messages
983
Location
Tualatin, Oregon
First mod I did was remove the GM chiclets off my front doors.

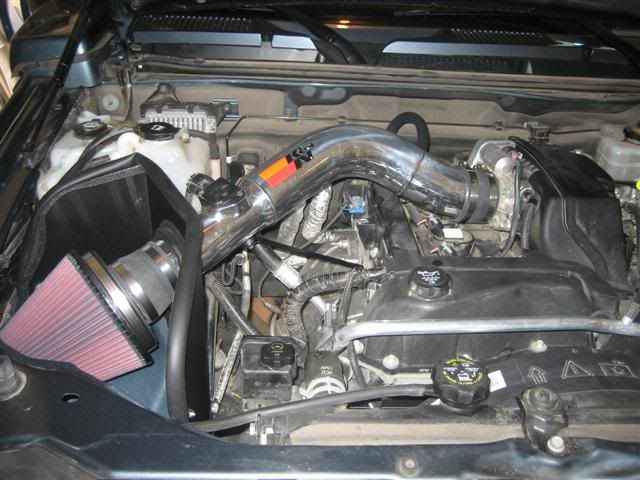
Second mod was adding a K&N cold air intake.

IMG_1023Small.jpg


Losing the resonator made the engine noisier, and it felt like it had more power in the higher rpms.

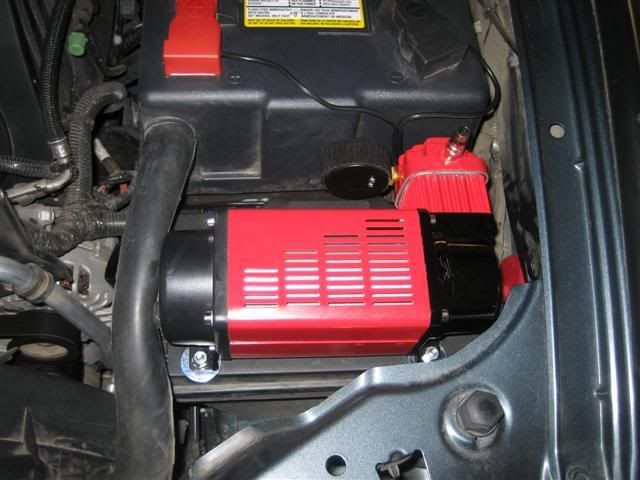
I can't remember who posted this mod, but I got a $60 compressor from Costco and installed it on top of the fuse box.

IMG_1118Small.jpg


I have had to replace the compressor due to failure, but I can't complain about the performance that this thing puts out and it's convenient location.
 

H3slate

Brush raked
Messages
983
Location
Tualatin, Oregon
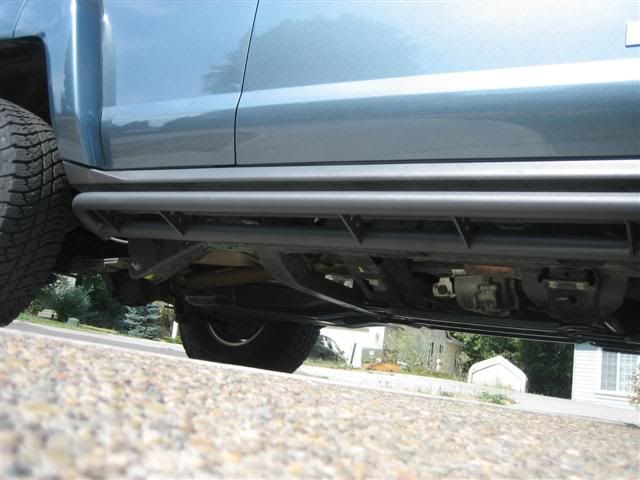
I was excited about possibly going to the Rubicon with some forum members so I got the oem rocker panel protection and the undercarriage ucp.

IMG_1116Small.jpg


I wasn't able to make the trip, but these have been two of the most valuable additions to my truck.

I got a Yakima megawarrior gear basket that I attached to my oem crossbars.

IMG_1085Medium.jpg


I liked this option because I could easily take it off and it had mounts to hold a shovel and a hi-lift. I didn't use it very much and it vibrated a lot when on the trails. I ended up selling this, and that space will soon be filled with a far superior rack. :shifty:

I leveled my truck and got the bilstein cognito shocks and 1/2" extended bumpstops from Trail Duty.

IMG_0061Medium.jpg


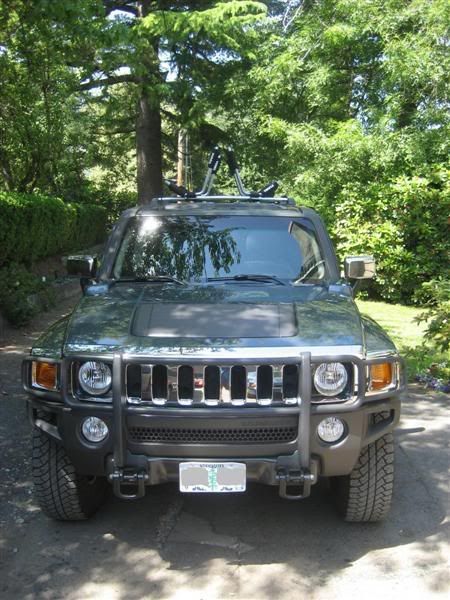
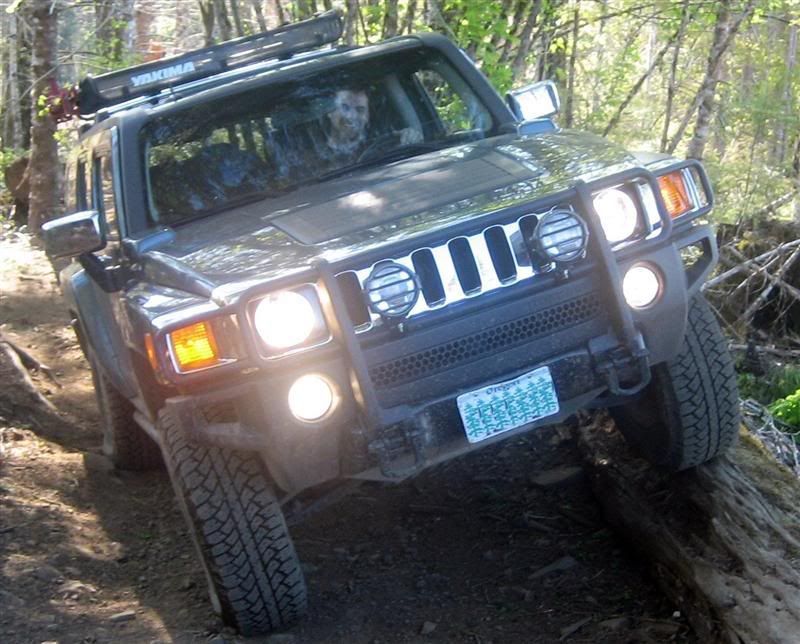
Next I got the oem brushguard, I really liked the look of it and was anxious to get some lights mounted up front.

IMG_2591bMedium.jpg
 

H3slate

Brush raked
Messages
983
Location
Tualatin, Oregon
For lights I picked up a pair of Warn offroad lights. I really liked the look of the lights and they were dual mode, I could switch them between fog and driving.

Img_0029bMedium.jpg


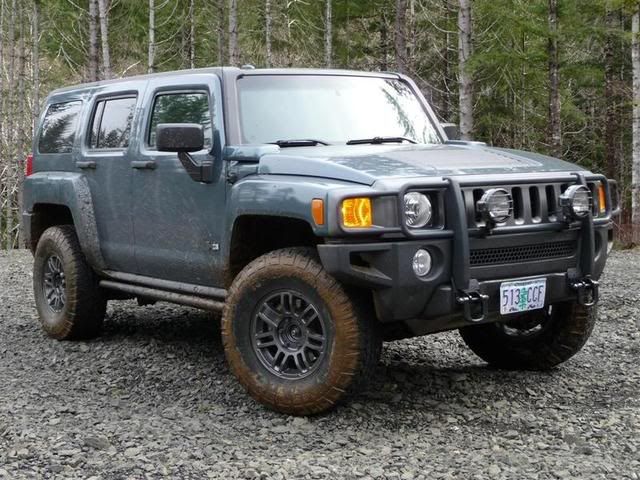
At the time everybody was blacking out their trucks, removing chrome and painting their stock rims. So, I was able to trade with a couple of members to get black door handles and black oem cross bars. I purchased the black mirrors on Ebay. For my wheels I was inspired by the graphite color on my old Xterra wheels and the color of the casing of my Warn lights. I found a spray can of Duplicolor wheel coating in graphite.

I sprayed my wheels, axle ends, and lug nuts. Since I was removing all the chrome I sprayed my grill and H3 emblems as well.

P1000255Large.jpg


The wheels have held up really well, going to touch them up this spring due to some rock rash. The grill didn't last long, the paint did not bond well to the chrome.

P1010399.jpg


I painted just the "H" on the logo, I liked the two tone look.

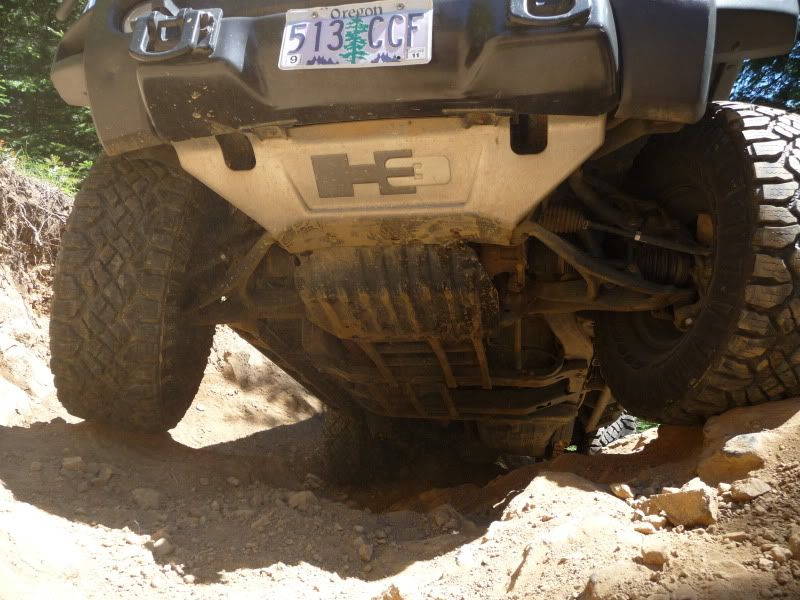
I also painted the "H" on the front skidplate.

P1010255.jpg
 

H3slate

Brush raked
Messages
983
Location
Tualatin, Oregon
After what seemed to be an eternity (5 years) I finally got 35" tires.

DSC04958.jpg


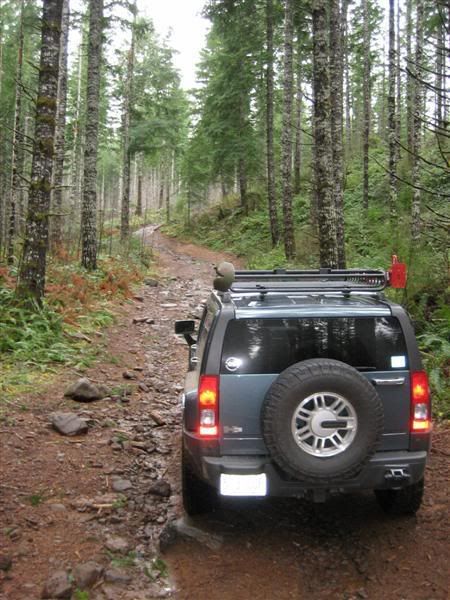
I have been very happy with my Duratracs. They are quiet on the road, but very aggressive for an A/T tire. From the pic above you can see I got rid of the chrome fuel door and replaced it with a black fuel door. I also attached a CB antenna mount to the spare tire mount. On the trails I run a 4' firestik, but around town I have a 2' antenna that surprisingly gets very good reception.

For a CB radio I went with a Uniden radio a friend recommended. It works well, I am not a fan of drilling through my dash so it is mounted with velcro. The velcro has worked surprisingly well, it has a very strong adhesive and works better than any other double sided adhesive i could find. I am utilizing my daystar center dash panel as the mount for the CB mic. I will post a pic of that when I get a chance. It works well, the cord is out of my way and it is within easy reach.

With the paint not holding up on my grill, and getting a few "trail scars" on my fender flares I bit the bullet and got my grill line-xed black and had my fender flares line-xed color matched.

P1010523.jpg


The grill has held up very well. There has been no fading of the black, and no visible damage to the grill. The fenders have not fared so well. The color match looked pretty darn good when I first got them. But after almost a year and a half there is some noticable sun damage to the color. :emb: The fenders have held up well, but they are not impervious to damage. There are a few dings from rocks on the rear passenger doors and even damaged the rear fender flare with some plywood.

After selling my Yakima I needed a way to mount my hi-lift that didn't involve a GOBI. I got my idea from alrock, utilizing the channels in the cross rails to mount the hi-lift with some carriage bolts and spacers.

P1010801.jpg


This worked really well, there was no rattling from the jack, and it was secure without sticking up to high.
 
Last edited:

H3slate

Brush raked
Messages
983
Location
Tualatin, Oregon
After running with the K&N intake for a few years I felt like the heat shield wasn't doing much to protect the filter from heat, water and dirt. I cut the tube portion off the oem airbox and made the two work together.

P1020185.jpg


I just added the Super Sparks oem spring delete and the AC Delco iridium spark plugs.

Here is a pic of the low profile leaf spring plate and the purple cranium half spider rear diff guard.

P1010569.jpg


Mods not pictured:

Purple Cranium half spider rear diff guard
Hunner front spring hanger skid
Trail Duty/tomp low profile rear leaf spring plates
Gorilla black acorn style lug nuts
16mm tie-rods
front differential crossmember bushing replacement

P1020007.jpg


Mods to come:
Scarsman custom roof rack (coming soon :))
4 KC 6x9 driving lights

Mods on wishlist
Arb front winch bumper/ or custom front winch bumper
Warn VR10000 winch w/ synthetic winch rope
spare tire mount delete
custom rear bumper with swing away tire carrier
custom rear cargo box
ported throttle body
Fox bypass shocks
 
Last edited:

H3slate

Brush raked
Messages
983
Location
Tualatin, Oregon
Interior mods include Husky floor liners front and back, neoprene seat covers front and back, the daystar dash panel, and a Uniden cb radio under the dash.
 

06 H3

a.k.a. "The Jackal"
Messages
9,499
Location
Meridian, ID
I really like the build!

I am totally jealous of the manual...I drove a friends old truck and it was a manual, since that day I wish my H3 had a manual

Looking forward to the progress you make in the future.
 

Hummjay

Wild Thang
Messages
347
Location
Seattle, WA
Great writeup Erik! I'm enjoying this thread immensely... Your truck is looking awesome, and looks even better in person! :thumbs: Can't wait to see your new rack!:corn: :corn:
 

Scarsman

Sponsor
Messages
1,561
Location
Monroe, WA
That is a very nice truck, and I can vouch that he can really make that manual work.

As for the rack, I just brought it home from the powder coater today. :) Pictures will come next weekend. I promised Erik I wouldn't put up pics until it was on his truck.

Sent from my Casio Commando using Tapatalk
 
Top